Meshmixer: Make Ti-Bases Fit Your Prints
30 $
Delivery time: Immediately
Meshmixer: Make Ti-Bases Fit Your Prints
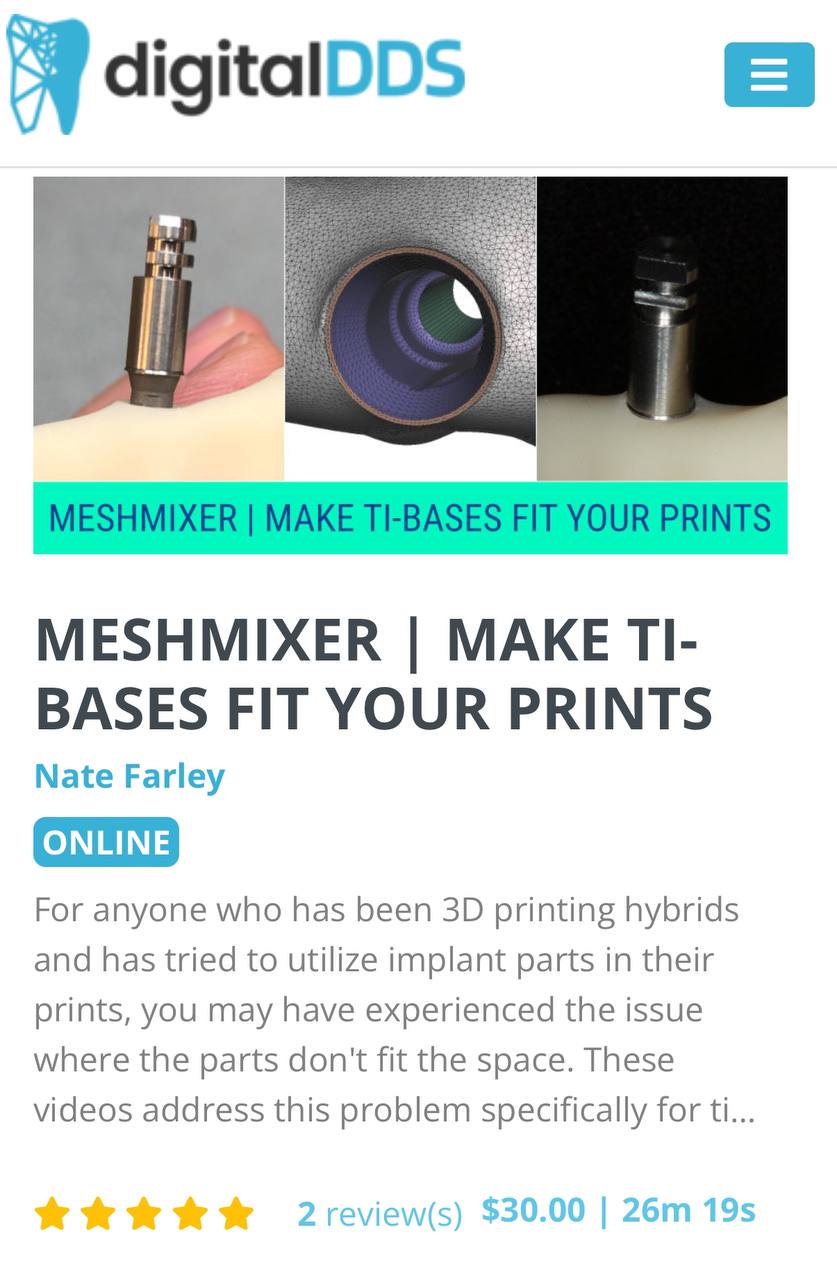
For anyone who has been 3D printing hybrids and has tried to utilize implant parts in their prints, you may have experienced the issue where the parts don’t fit the space. These videos address this problem specifically for ti-bases, but the same concept could be used to get other parts to fit (e.g. analogs, multi-unit interfaces, etc.).
This tutorial walks through the process of 1) showing you how to isolate the part space, 2) change the size of it predictably, and 3) add the new size back into the model. While this example (and the verification jig available for download) uses Dess straight ti-bases, the second video explains how to make your own verification jig for another system/part. Finally, I’ll show what to do after printing, including an example case.
By request, I included a file in the downloads section of just a ti-base spacer. Obviously this would not be the ideal way to go about this as you would have to eyeball the alignment. I also don’t remember the amount of added space I used. Interesting idea though from this user…scan their interim hybrid in it’s entirety (yes, even the intaglio with as much of the implant connection as possible) and then use this to include the implant parts. Also, this should really only work for Dess ti-bases.
Be the first to review “Meshmixer: Make Ti-Bases Fit Your Prints” Cancel reply
You must be logged in to post a review.








Reviews
There are no reviews yet.